Manage Supabase Database
Overview
Supabase is an open source Firebase alternative providing all the backend features you need to build a product. You can use it completely, or just the features you need.
As Supabase provides full PostgreSQL database instances, teams can use Bytebase to manage the database development lifecycle for the Supabase databases.
While Supabase already has an easy-to-use GUI to conduct database operations, Bytebase adds the extra value to offer a systematic database development and change workflow. This is especially useful for cross-functional teams requiring collaboration (e.g. having dedicated DBA or platform engineering team apart from the application development teams).
Prerequisites
- You need a Supabase account (free signup).
- After signup, create a supabase project, you can start with the Free plan which already includes a full PostgreSQL instance.
The Procedure
Step 1 - Visit Supabase project's database setting
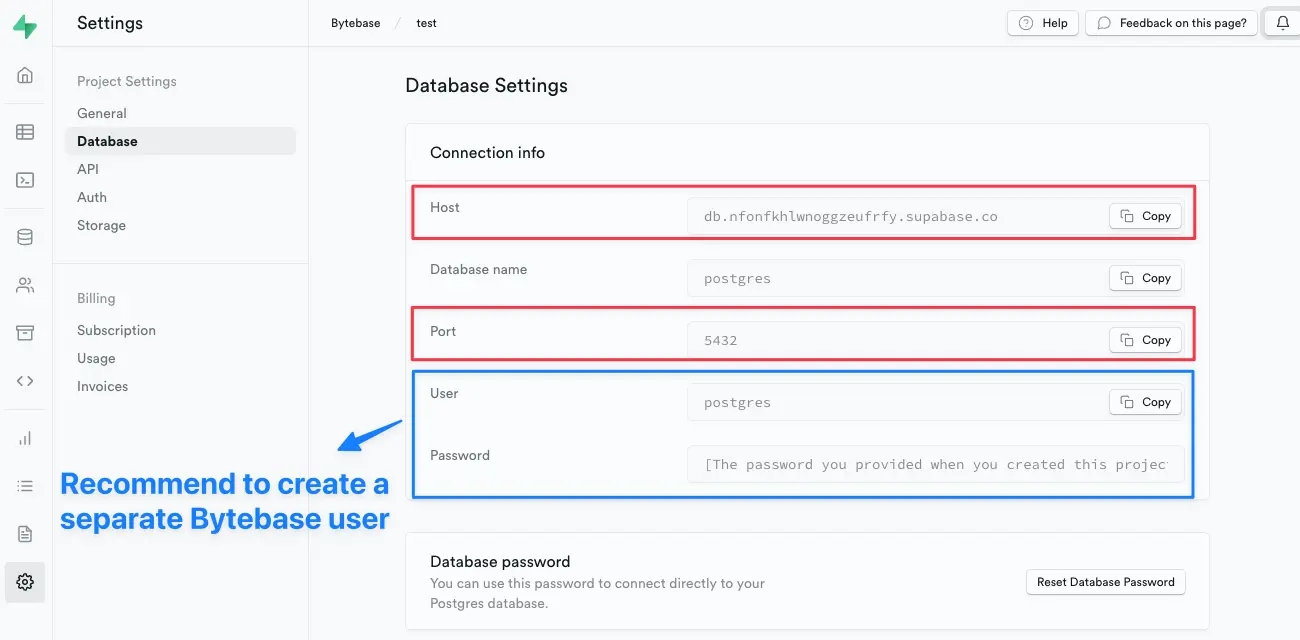
Note down the Host and Port info. For User and Password, we recommend creating a dedicated user for Bytebase instead of using the default postgres user.
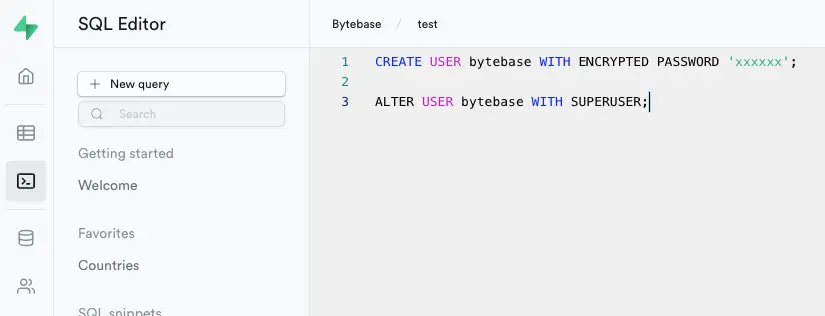
Step 2 - Create a database user for Bytebase
Visit Supabase SQL Editor and create a database user and grants it SUPERUSER role. Below example creates a user named "bytebase".
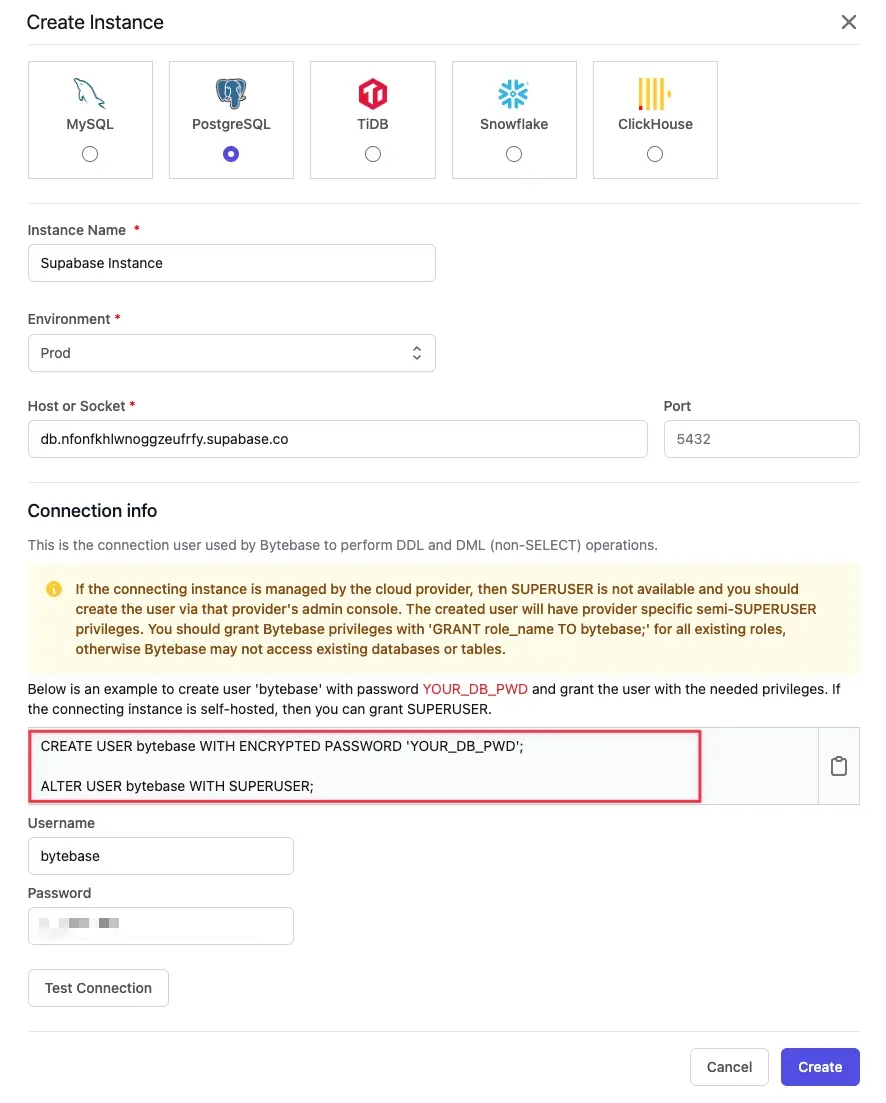
Step 3 - Add the Supabase database instance to Bytebase
Choose PostgreSQL, and copy the Host, Port, User and Password from the last two steps to the form and click "Create". See Add an Instance for more details.
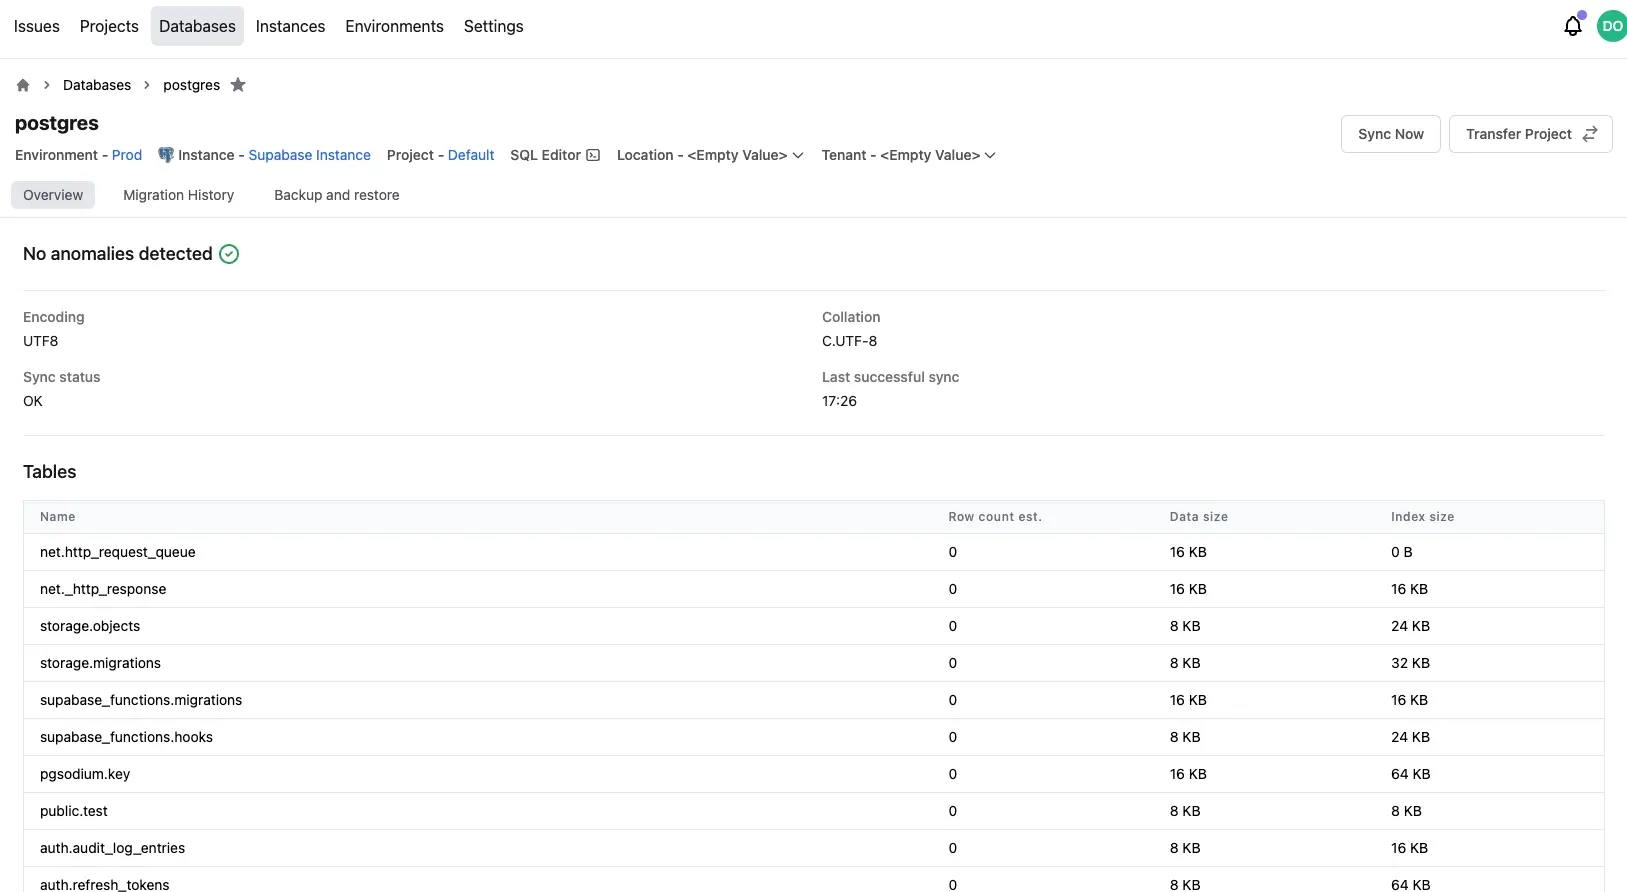
Step 4 - Check the database instance is properly imported
All databases should be sycned properly. Expect some delay if the database instance is large.
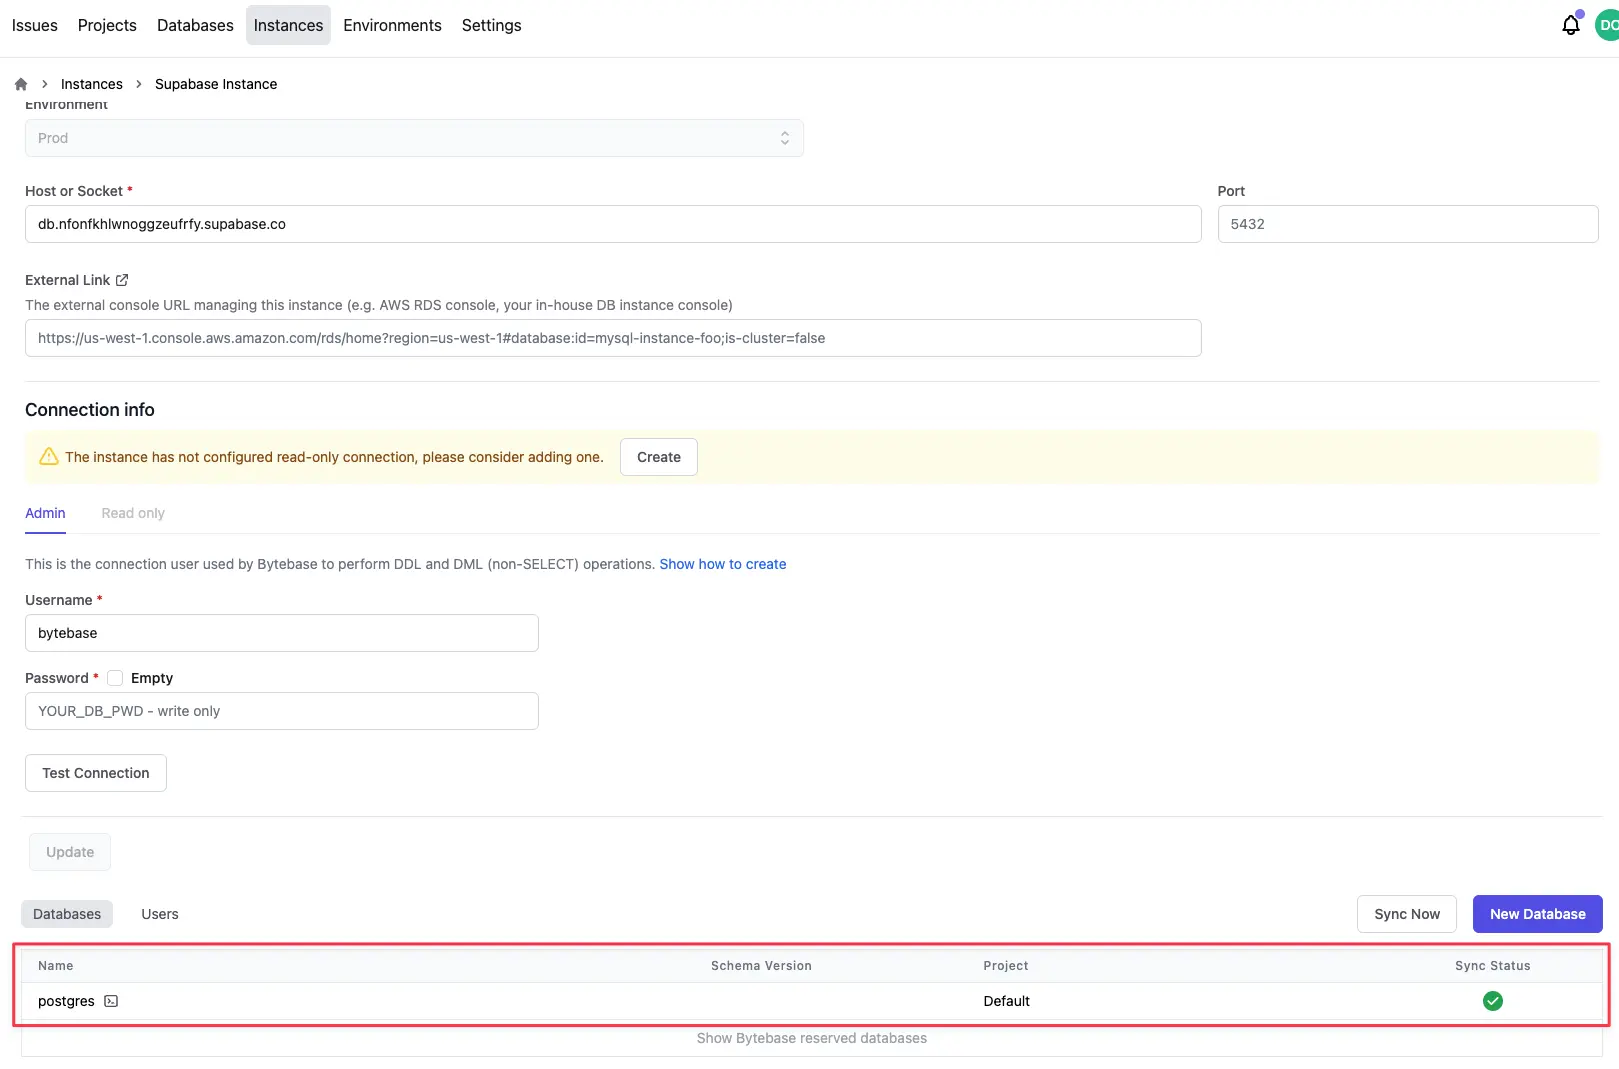
So should the tables under the databases.