Database CI/CD and Schema Migration with Redis
A series of articles about Database CI/CD and Schema Migration with Redis.
- Database CI/CD and Schema Migration with Redis (this one)
- Database CI/CD and Schema Migration with Redis and GitHub
Redis is an open source (BSD licensed), in-memory data structure store used as a database, cache, message broker, and streaming engine.
This tutorial will guide you step-by-step to set up database change management for Redis in Bytebase. With Bytebase, a team can have a formalized review and rollout process to make Redis data change.
You’ll have a GUI and You can use Bytebase free version to finish the tutorial.
Features included
- Change Workflow
- SQL Editor Admin Mode
- Change History
Prerequisites
Before you start this tutorial, make sure:
- You have a local running Redis.
- You have Docker installed locally.
Step 1 - Start Bytebase in Docker
-
Make sure your docker daemon is running, and start the Bytebase docker container.
docker run --rm --init \ --name bytebase \ --publish 8080:8080 --pull always \ --volume ~/.bytebase/data:/var/opt/bytebase \ bytebase/bytebase:2.16.0 -
Bytebase is running successfully in Docker, and you can visit it via
localhost:8080.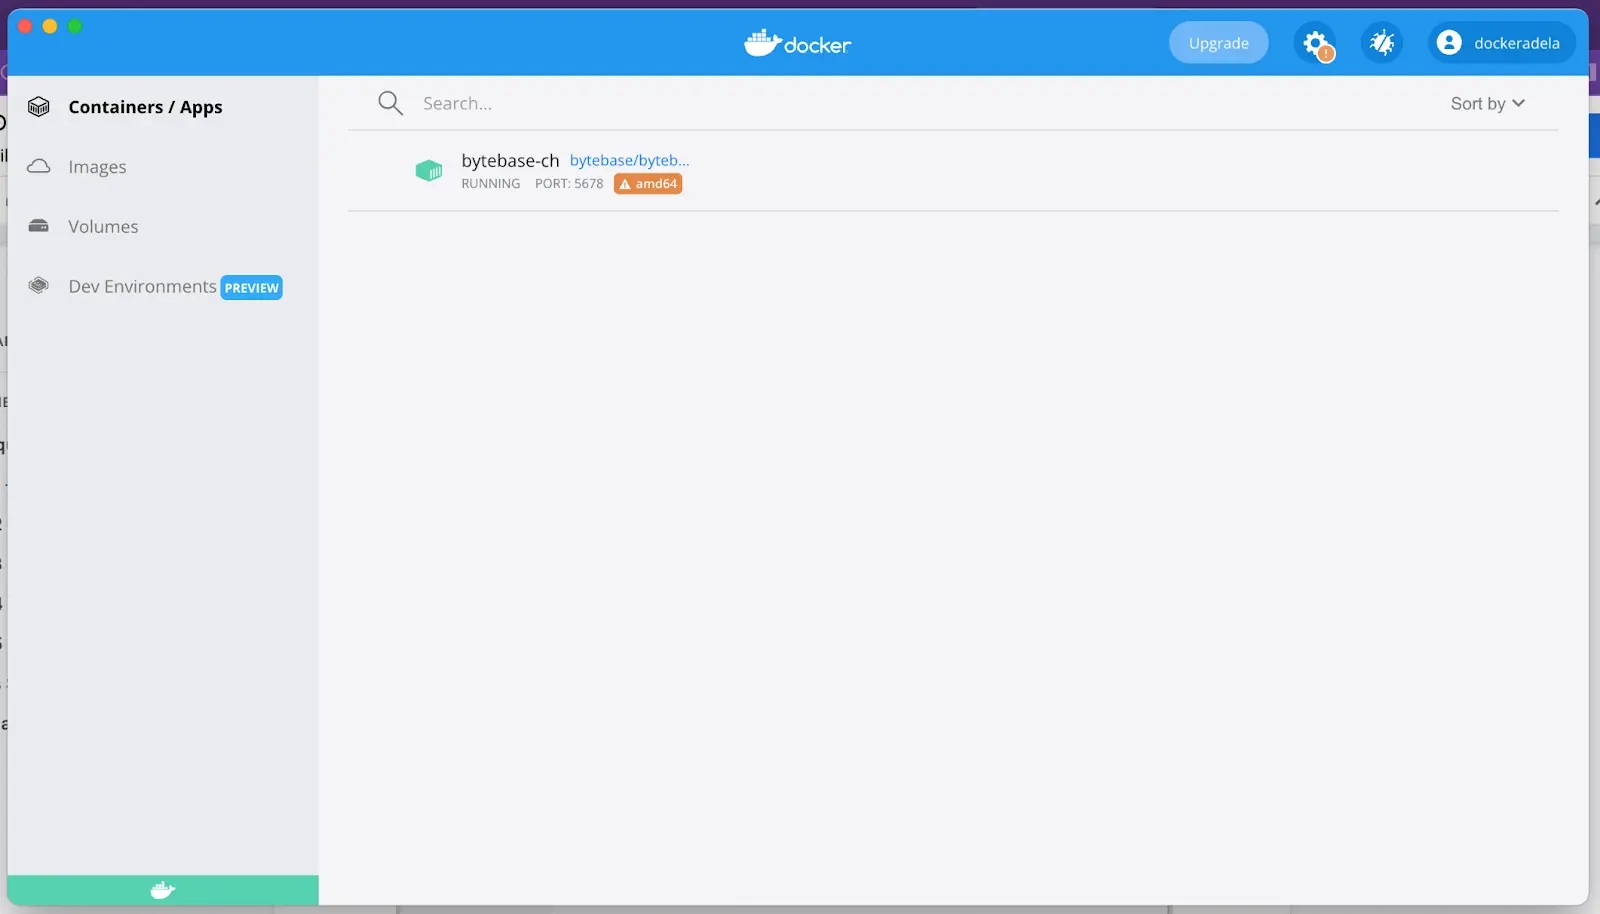
-
Visit localhost:8080 in your browser. Register the first admin account which will be granted
Workspace Admin.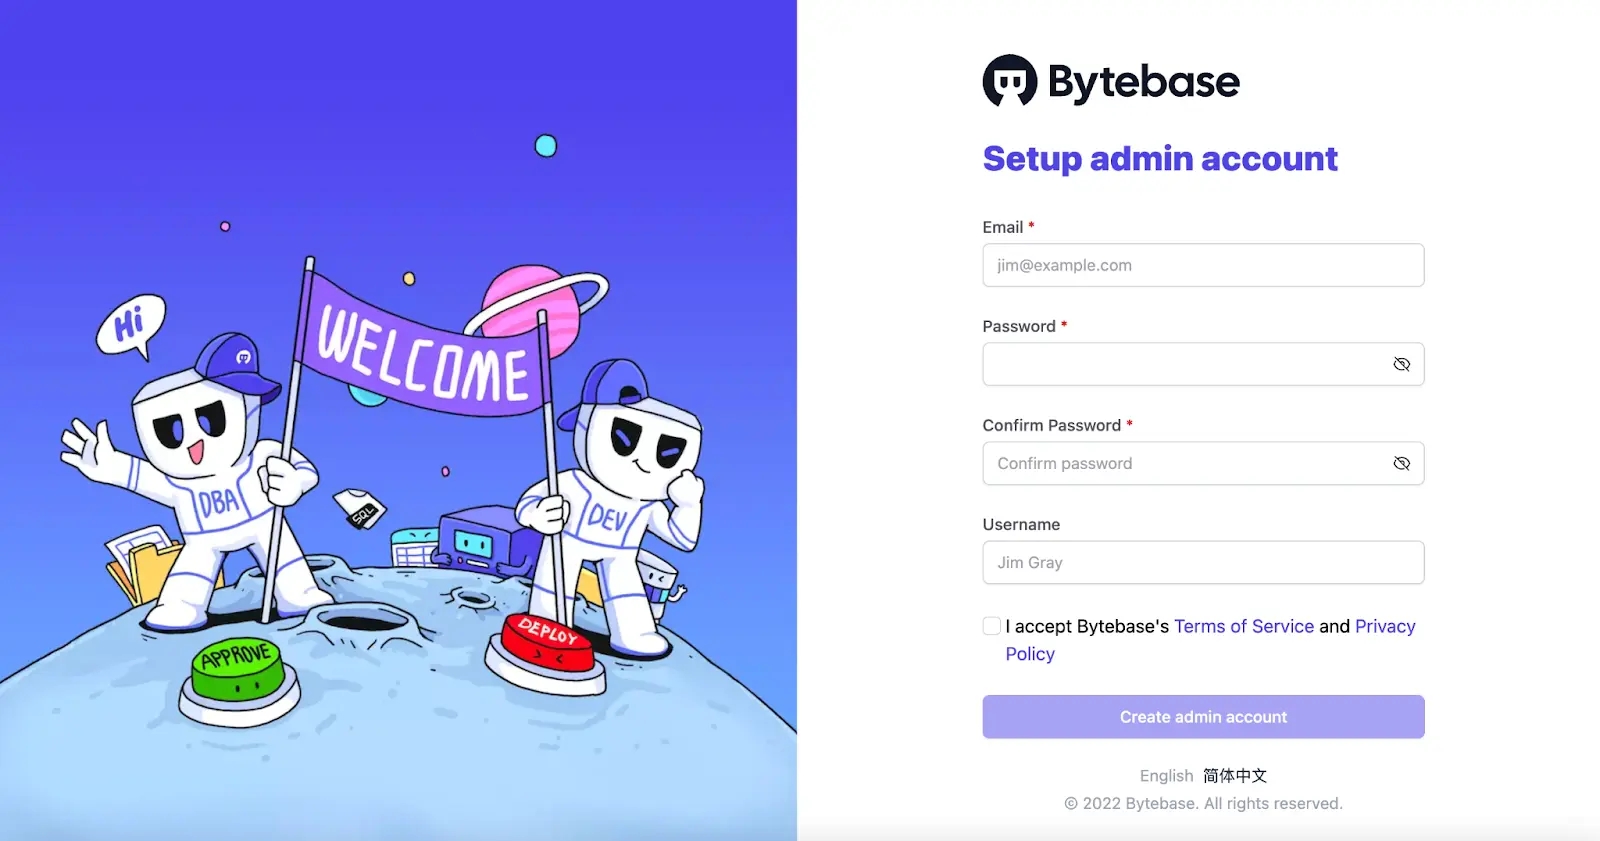
Step 2 - Add Redis in Bytebase
In Bytebase, an Instance could be your on-premises MySQL instance, an AWS RDS instance etc, in this tutorial, a Redis Cloud account or a self-managed instance.
-
Visit
localhost:8080and log in asWorkspace Admin.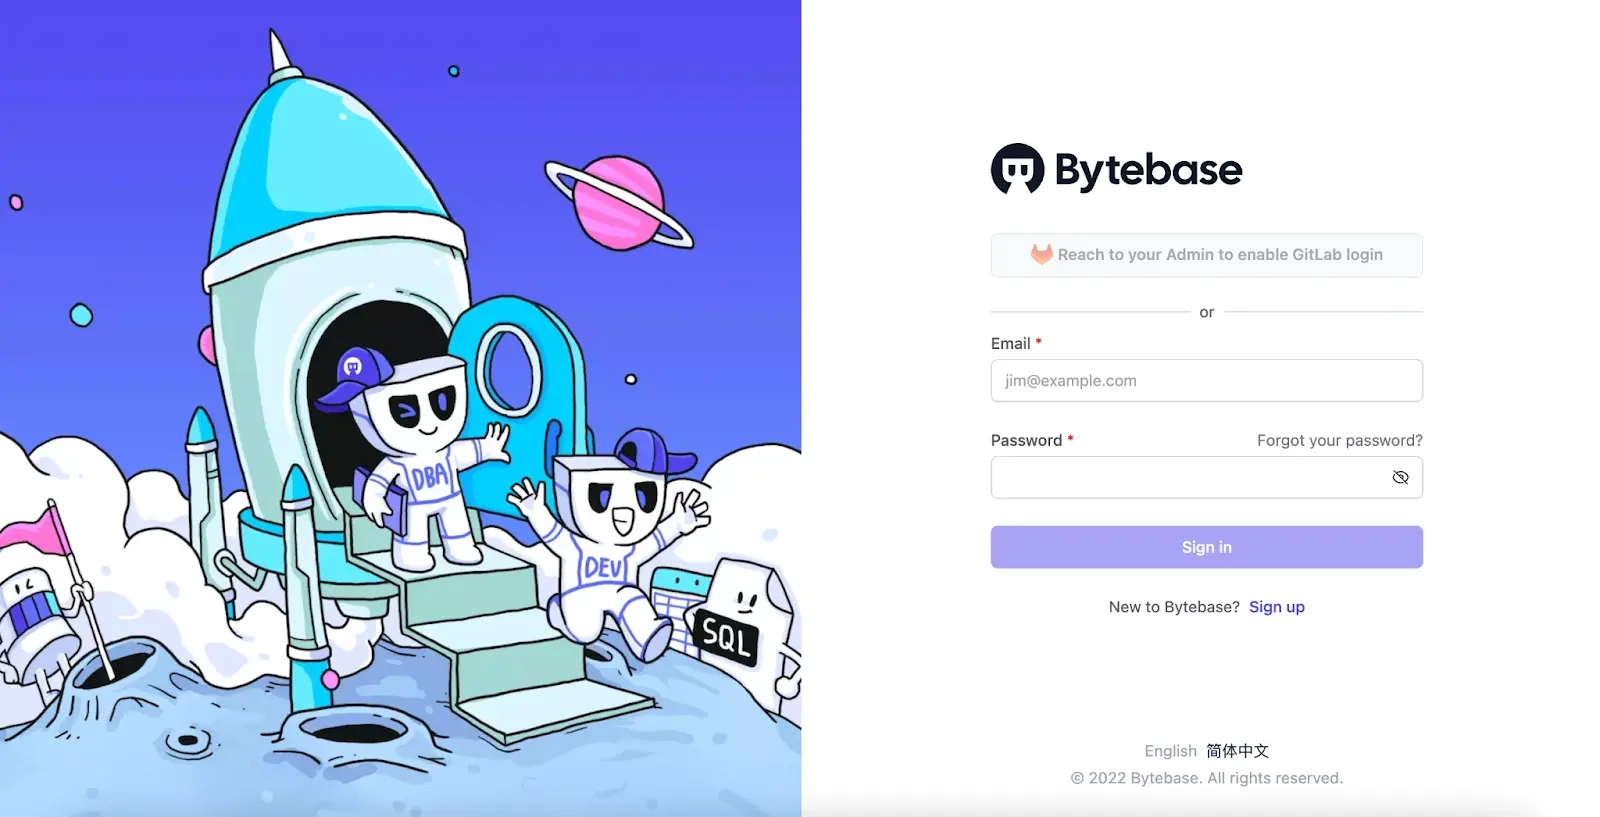
-
Click Add Instance.
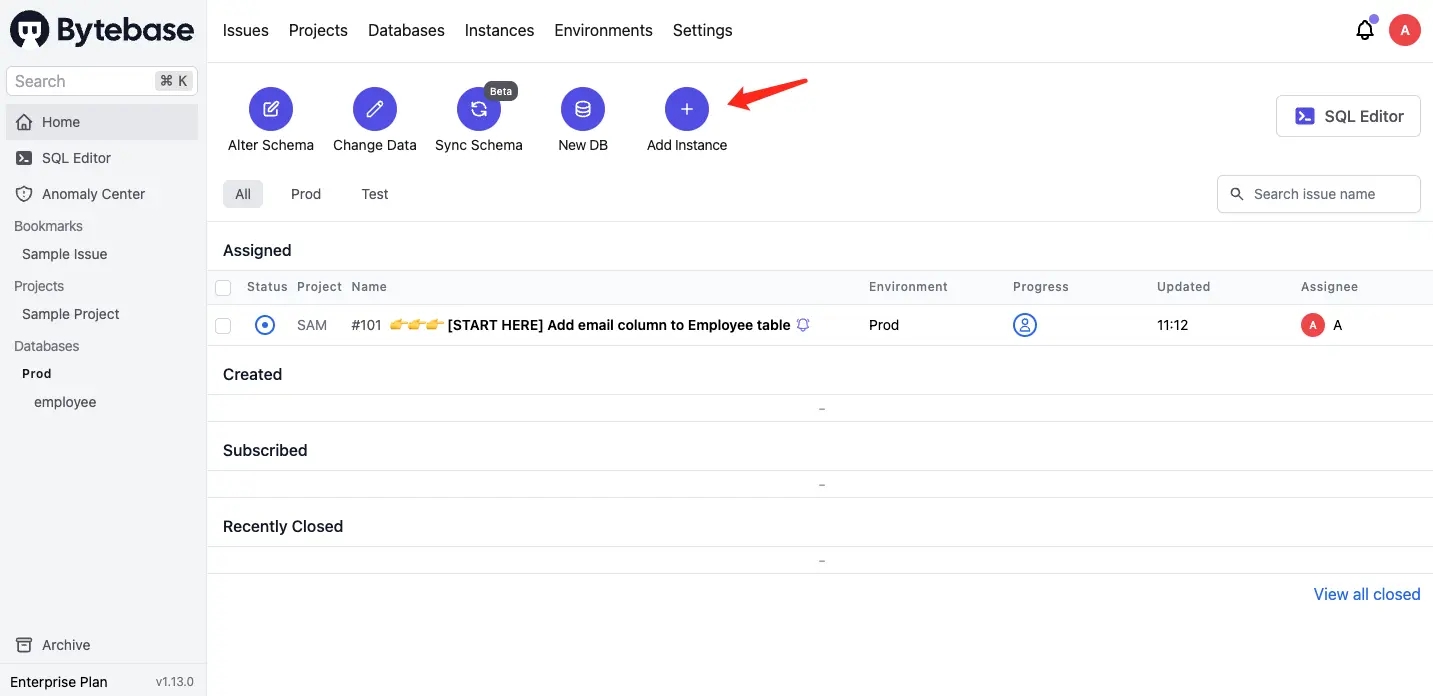
-
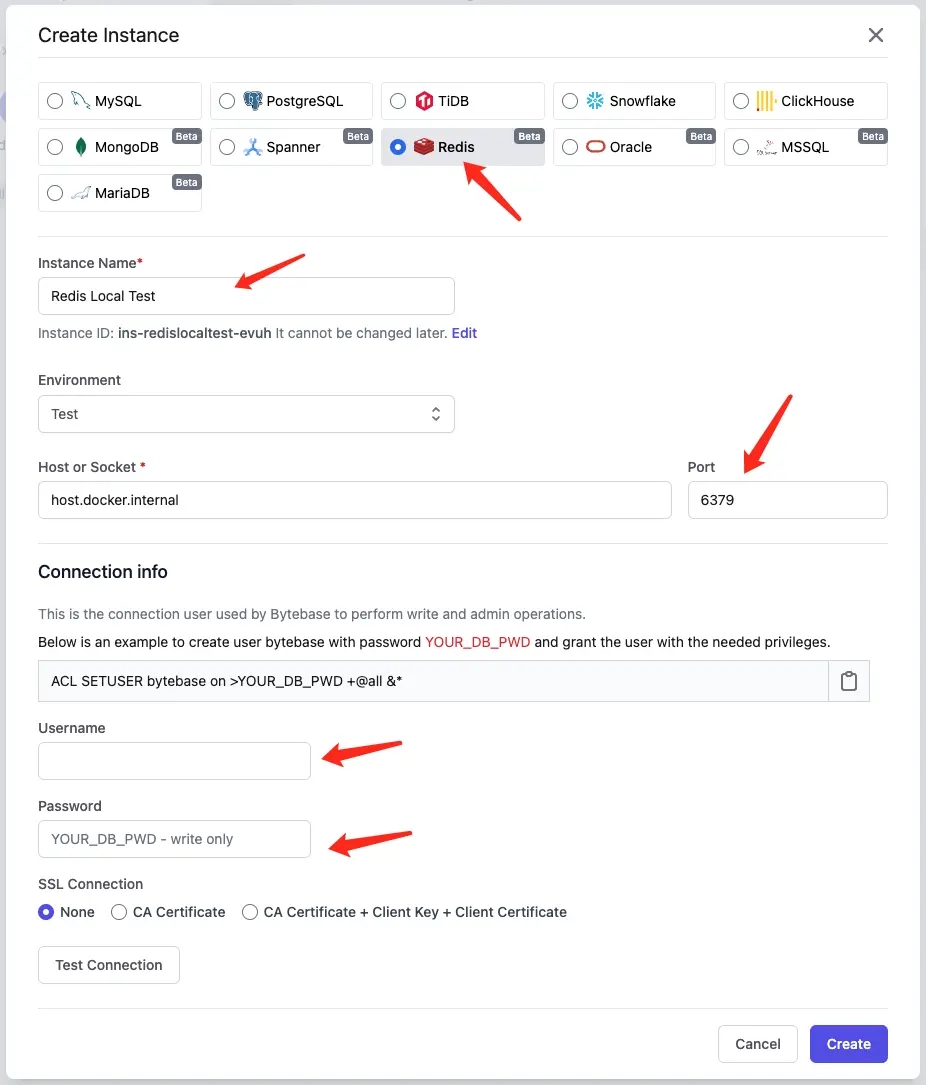
Add a Redis instance and click Create.
Pay attention to some fields:
- Environment: choose
Test, if you chooseProd, issues will wait for approval by default. In this tutorial, we try to keep it simple. However, it’s all configurable. - Host or Socket:
host.docker.internal. - Username & Password: keep them empty.
Step 3 - Create a project
In Bytebase, Project is the container to group logically related Databases, Issues and Users together, which is similar to the project concept in other dev tools such as Jira, GitLab. So before you deal with the database, a project must be created.
-
After the instance is created, click Projects on the top bar.
-
Click New Project to create a new project
TestRedis, key isTR, mode isstandard. Click Create.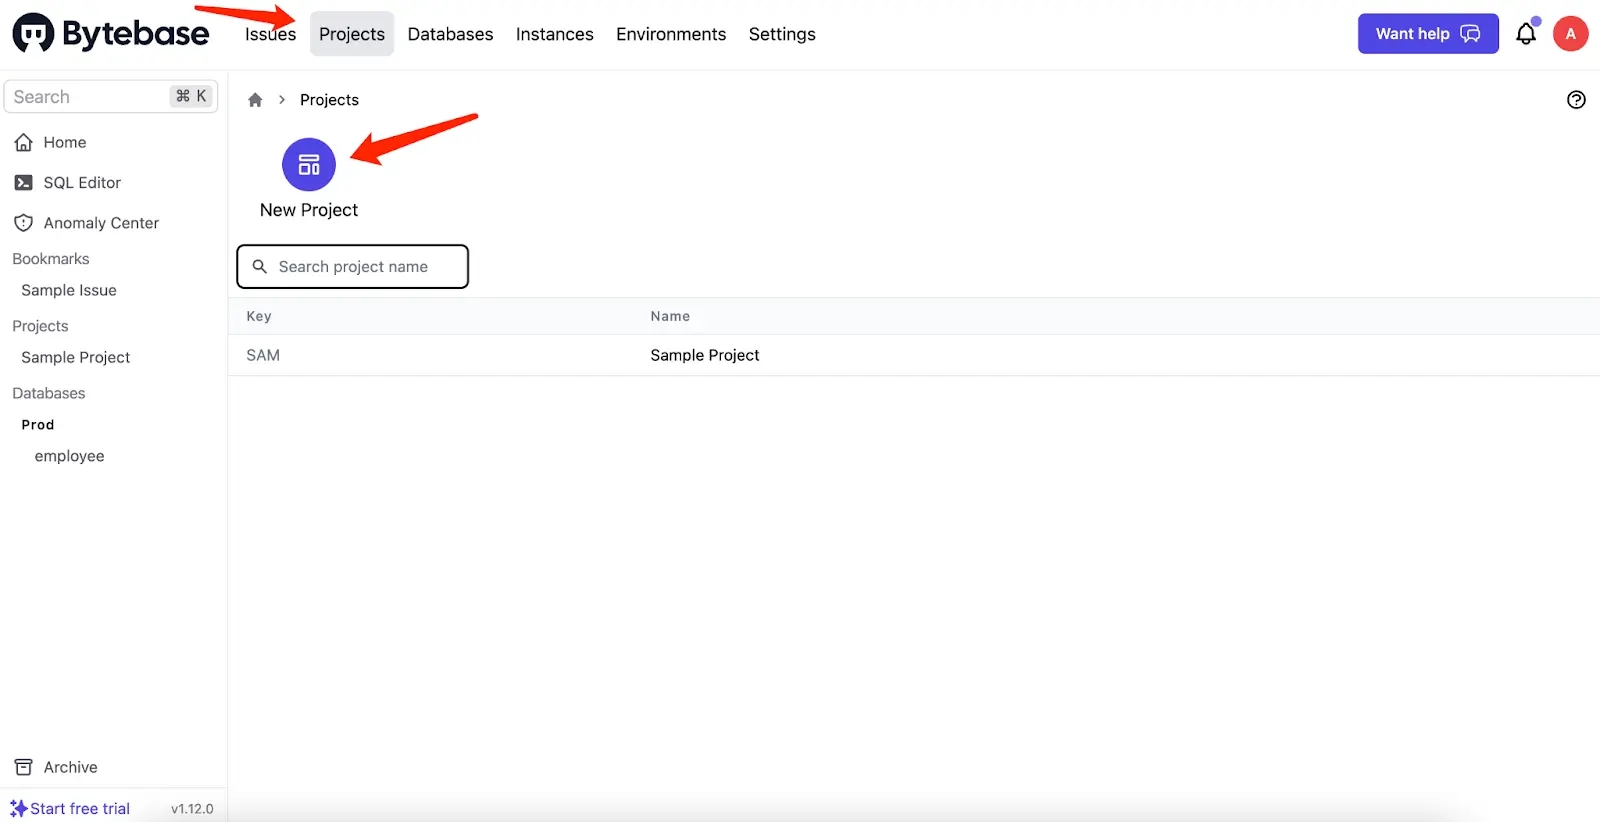
Step 4 - Transfer a database in Redis
In Bytebase, a Database always belongs to a single Project. Issue represents a specific collaboration activity between Developer and DBA such as creating a database, altering a schema or change data. It's similar to the issue concept in other issue management tools.
-
After the project is created. Click Transfer in DB on the project top bar.
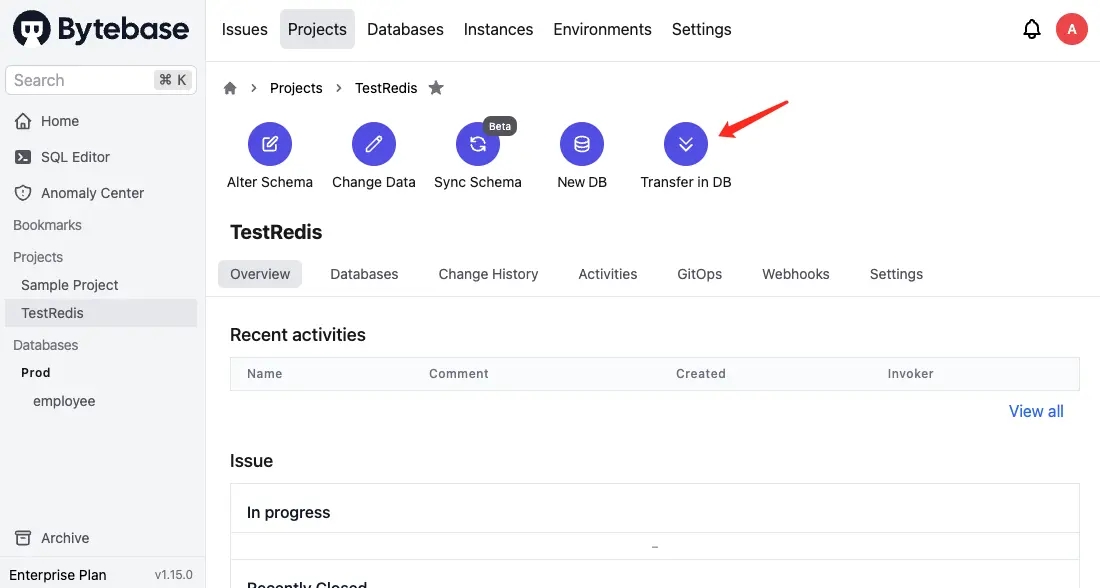
-
Choose one of them and click Transfer.

Step 5 - Add some data in Redis
-
Go back to the project and click Change Data. Choose
0and click Next.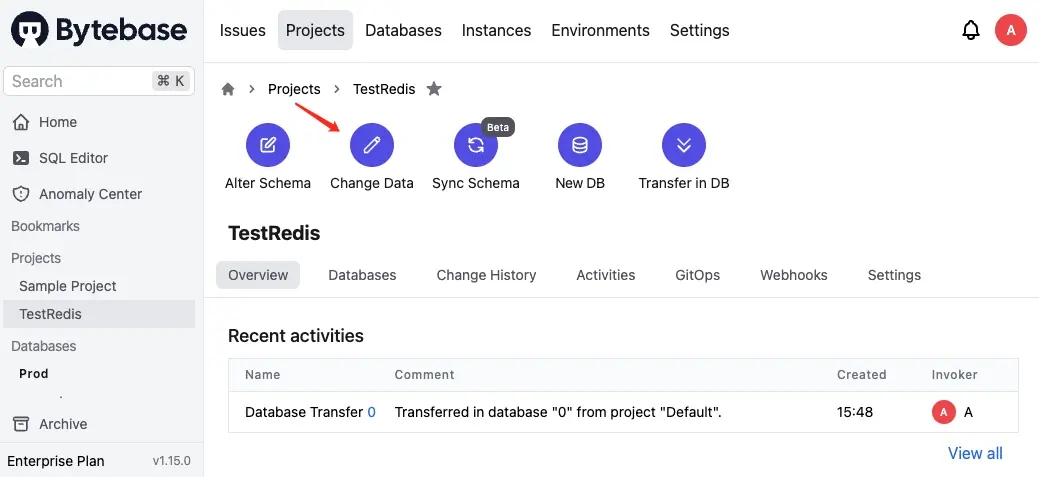
-
Input
set name adelain the Statement fieldbox and click Create. Wait for its execution and click Resolve.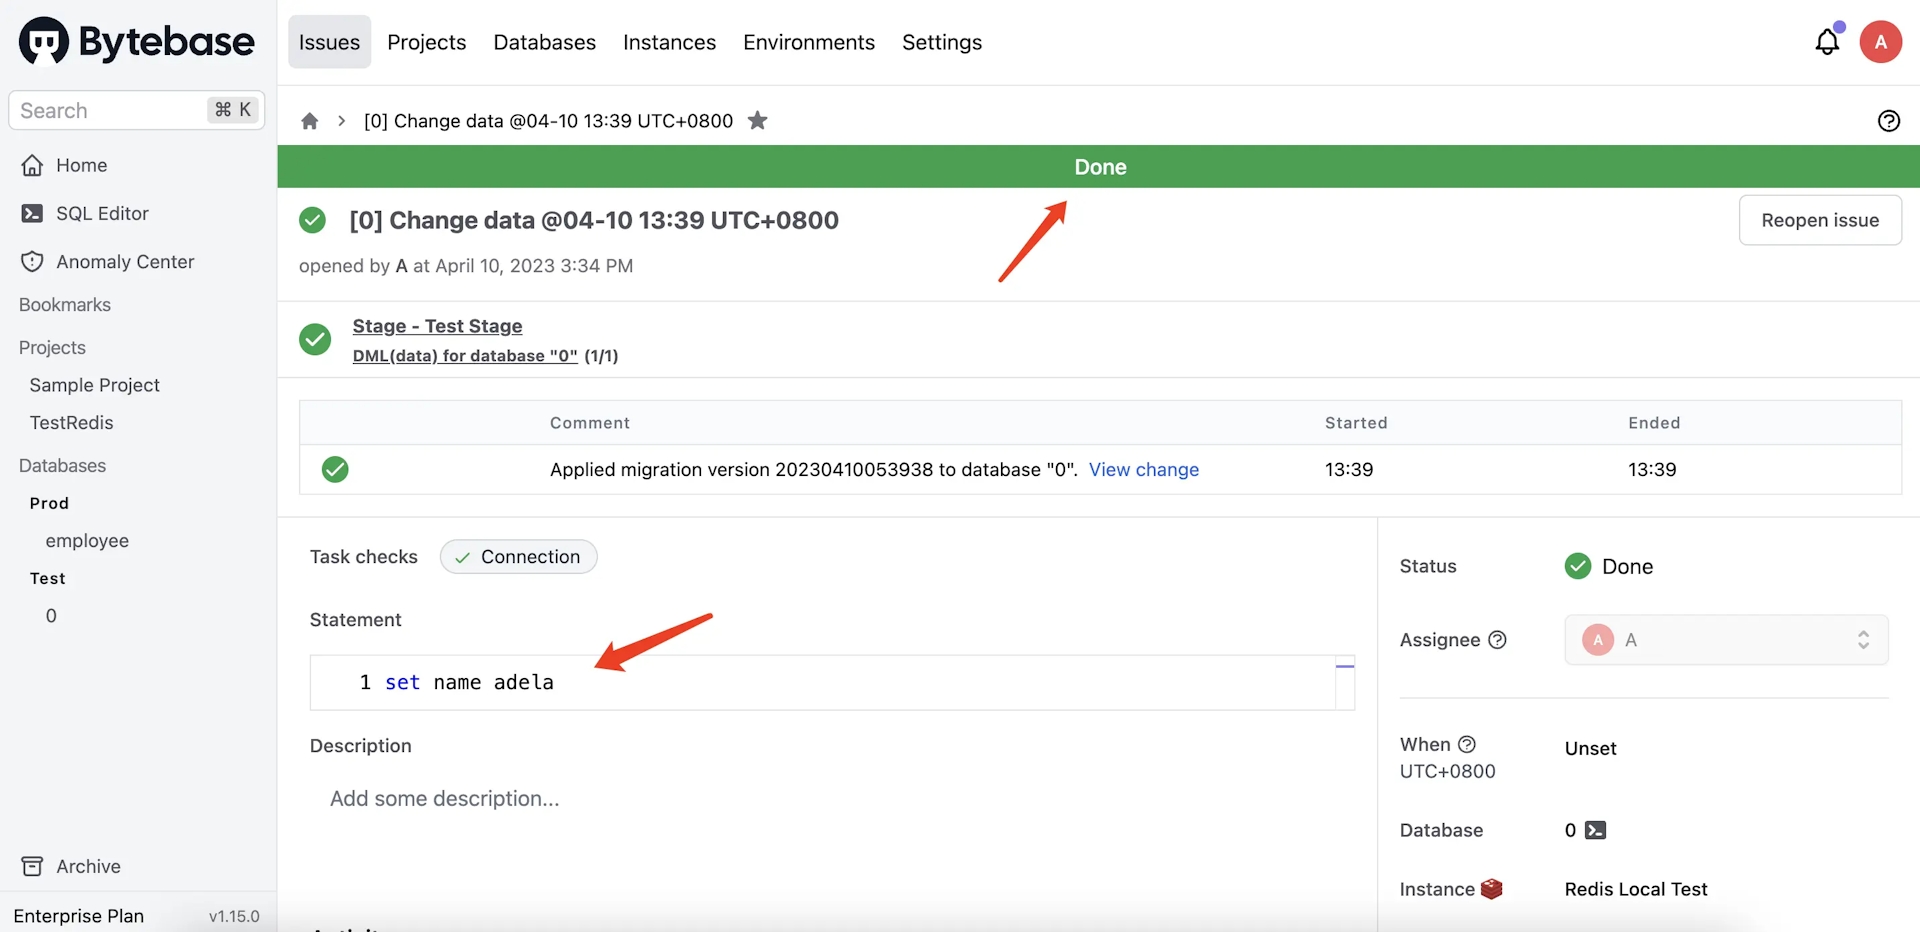
Step 6 - Query the data
-
Click the terminal icon beside database
0, and you'll be redirected to SQL Editor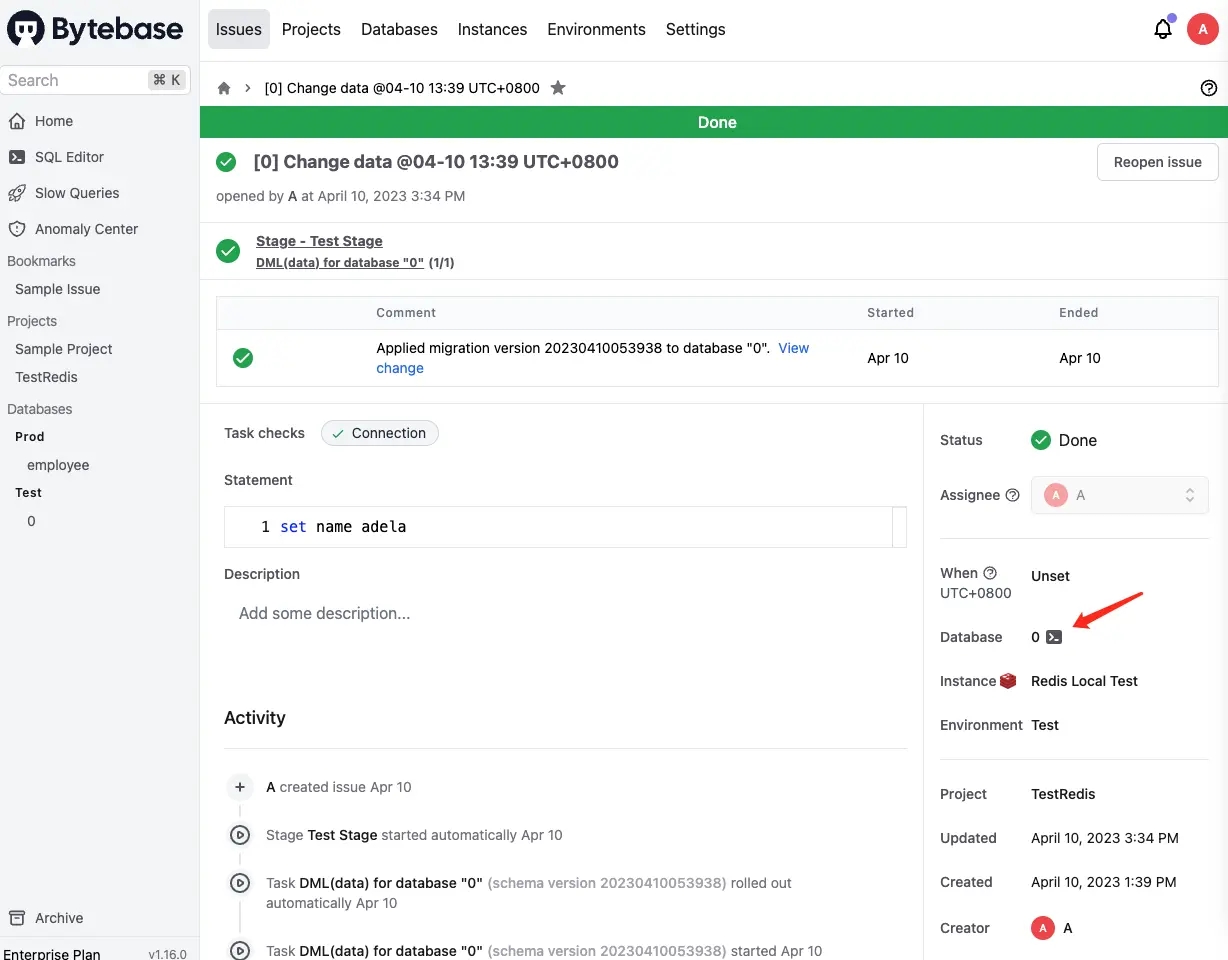
-
Switch to Admin mode, input
get name, and click Run. You'll see the result.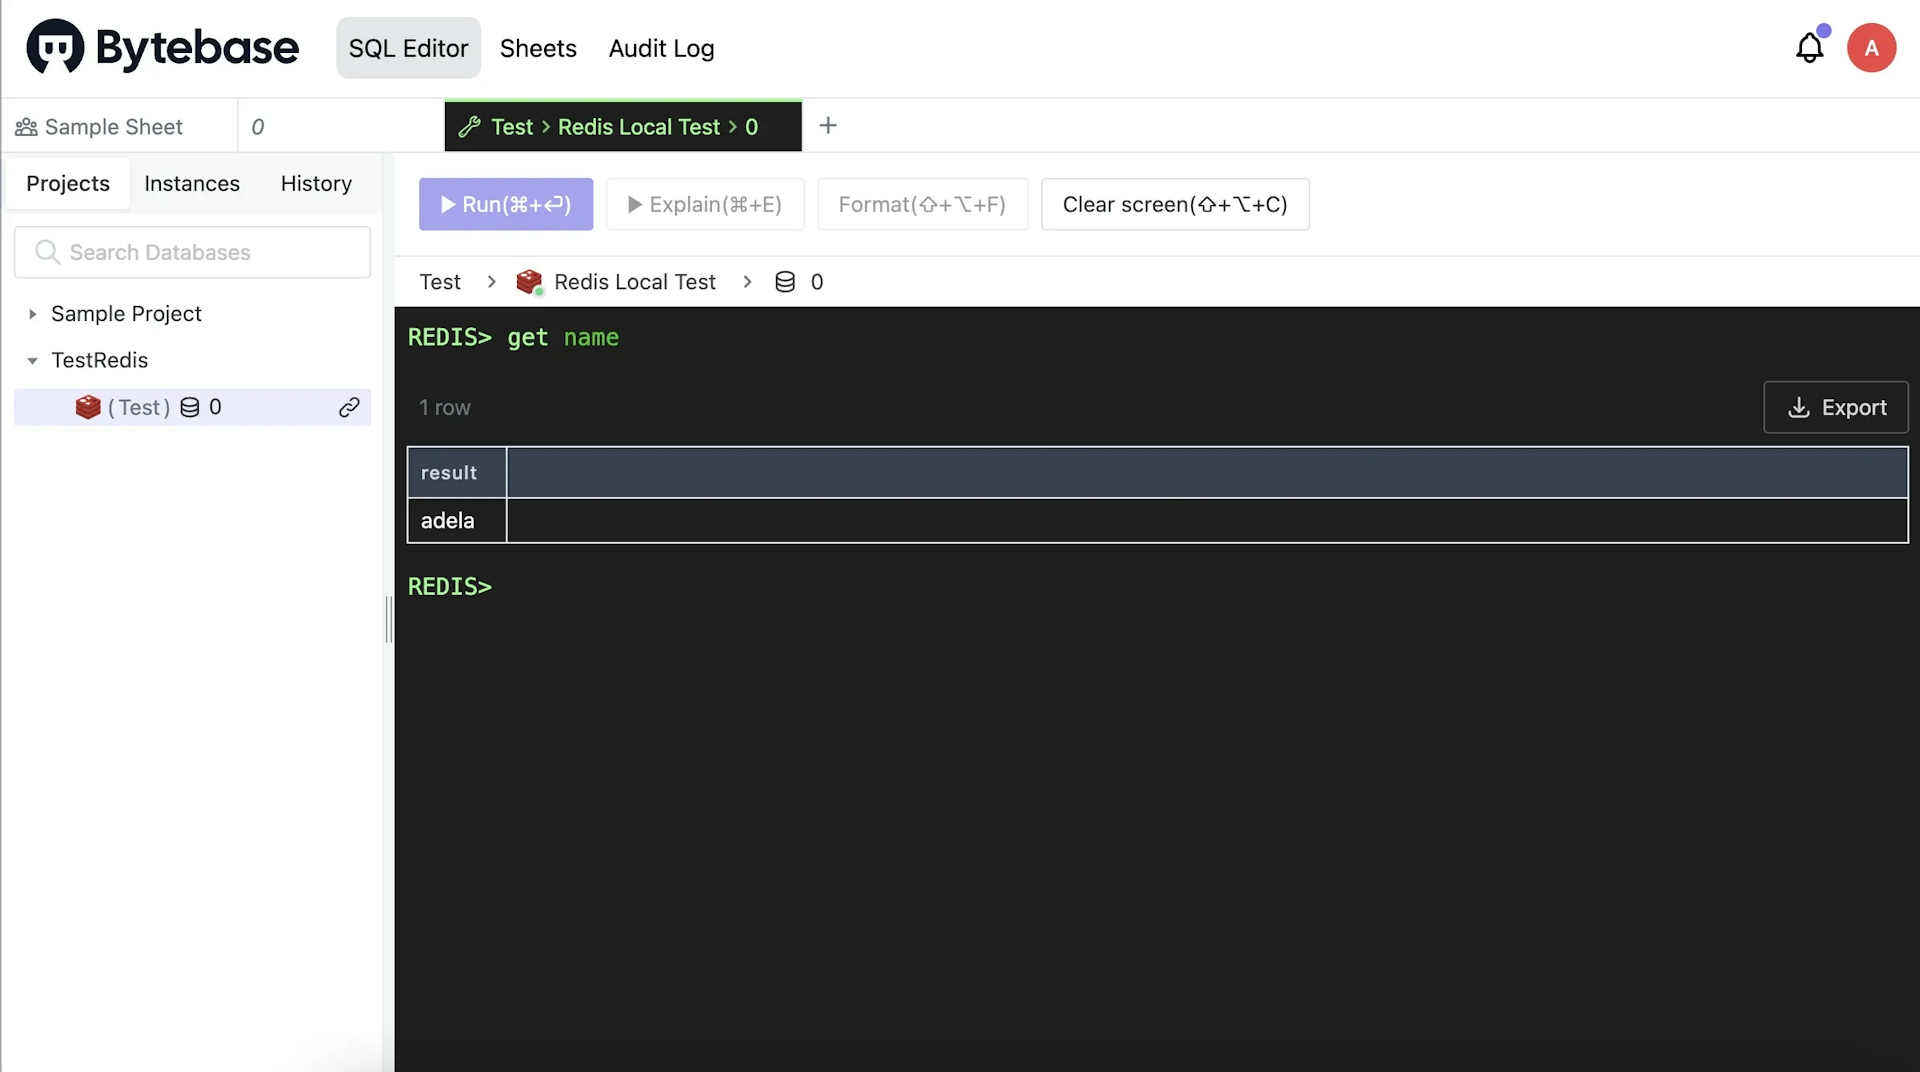
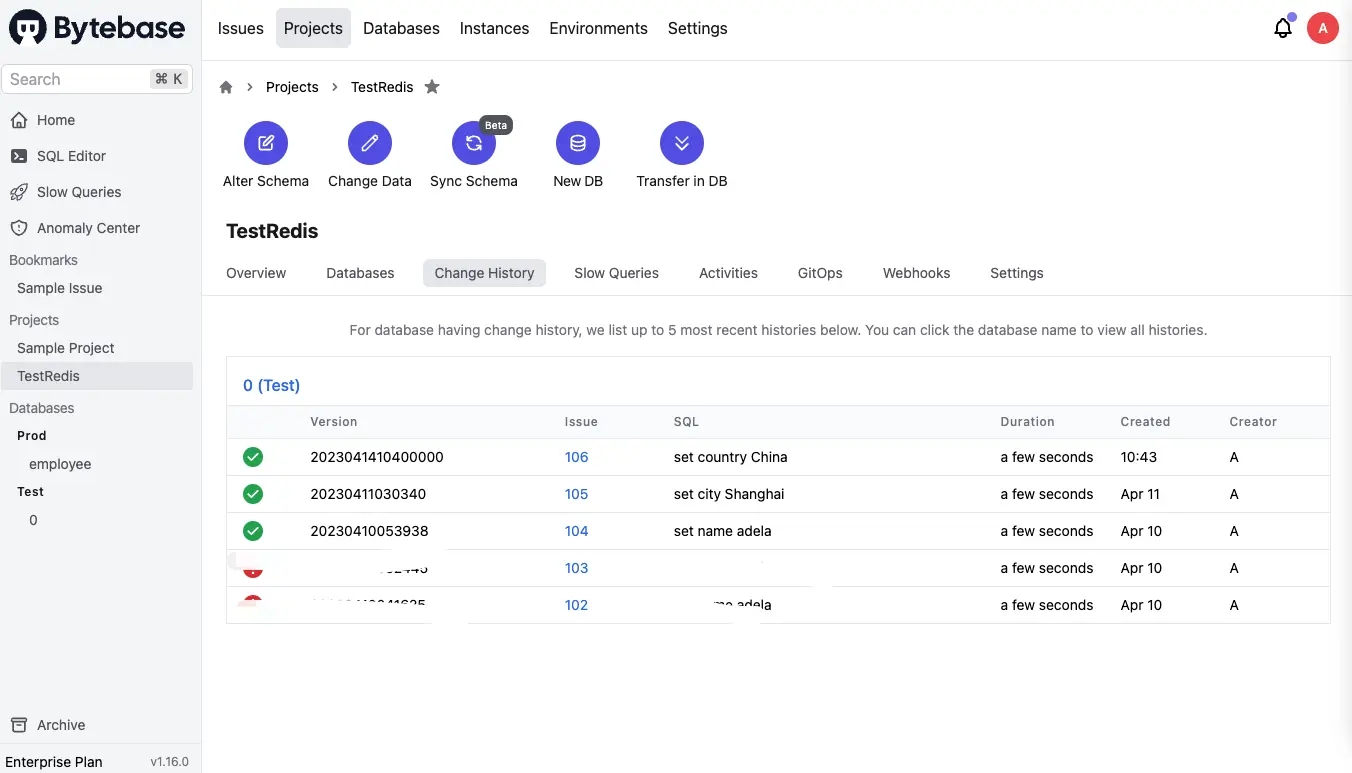
Step 7 - View change history
- Go back to project and click Change History, you'll see the list of all data changes.
Summary and Next
Now you have connected Redis with Bytebase, and tried out the UI workflow to do schema change. Bytebase will record the full change history for you. With Enterprise Plan, you can even have drift detection.
In the next article, you’ll try out GitOps workflow, which will store your Redis schema in GitHub and trigger the change upon committing the change to the repository, to bring your Redis change workflow to the next level, aka Database DevOps - Database as Code.